Thursday, December 15, 2022

Tech Rodeo is Back!


2023 Tech Rodeo is around the corner. This edition will be in-person and returns to the beautiful facility at Ridgeview Middle School in Visalia, CA. Come check out an amazing day of professional learning for engagement strategies, UDL, SEL, English learners, PLN building, and much more. This year's keynote panel includes Adobe Education Specialist Lindsey Blass and Adobe Education Evangelist Martin Cisneros. Click the link below to register!

http://tulare.k12oms.org/147-227027

If you would like to bring me to your school for PD, workshops, a keynote, training or a follow-up on this or previous blogposts, click here to schedule an appointment to chat.

My book, The Complete EdTech Coach: An Organic Approach to Digital Learning, co-authored with my wife Katherine Goyette is now available on Amazon. Click here to purchase. It is published by Dave Burgess Publishing. Be sure to follow the hashtag #OrganicEdTech and #CVTechTalk for updates.


Friday, October 21, 2022

Fall CUE 2022: Come Learn with Me

It's that time of year again. It's Fall CUE. After two years being virtual, we are back face-to-face, and I am so excited. Fall CUE will always have a special place in my heart as it was at the 2018 edition where my wife Katherine and I were married on stage by the one and only Jon Corippo. Yes, I got married at and edtech conference. It was actually on the conference schedule. 

This year has me extra pumped as it is the first major CUE event since I was elected to the CUE Board last summer. I am looking forward to experiencing this conference from the perspective of a board member, not just as a presenter. On top of my board duties this weekend, I will be presenting 5 times. No rest for the weary. Honestly, I wouldn't have it any other way. I get so much satisfaction out of presenting, meeting new people and growing my PLN. 

Check out the sessions I will be presenting. Click on the session titles to access the slide decks.

Saturday 10/22

- Transform Your Classroom Culture Through The Power of Feedback - 1:30-2:20 pm, McKamy #153

- 4 C The Future: Lesson Design That Empowers - 3:30-4:20, Jackson #131 (co-presenting with Katherine Goyette)

Sunday 10/23

- Coaching Trumps PD: Just Keep Walking - 10:00-10:50 am, Naglee #127 (co-presenting with Katherine Goyette)

- Rock the Shells with Google Classroom - 1:30-2:20 pm, Jackson #131

- Ditch That Copier: Curate to Innovate - 2:30-3:20 pm, Jackson #131

If you are attending Fall CUE in-person or online, what sessions are your most looking forward to? Who are you hoping to connect with? If you would like to bring me to your school for PD, workshops, a keynote, training or a follow-up on this or previous blogposts, click here to schedule an appointment to chat.

My book, The Complete EdTech Coach: An Organic Approach to Digital Learning, co-authored with my wife Katherine Goyette is now available on Amazon. Click here to purchase. It is published by Dave Burgess Publishing. Be sure to follow the hashtag #OrganicEdTech and #CVTechTalk for updates.


Thursday, October 20, 2022

The Spice of the Learning Process: Feedback and Stop Signs

Coaching soccer for nearly 20 years, nothing was more effective in helping my players grow than targeted, in the moment feedback. During shooting drills, seeing one of the players consistently fire shots far above the goal frame, immediate feedback about the placement of the plant foot and getting the knee over the ball was absolutely vital to helping the player drive the ball with power and accuracy towards the goal. 

Over 17 years as a teacher and instructional coach, I tried to apply a similar approach in the classroom. The classroom is different the the soccer pitch for obvious reasons. Soccer players are out there because they want to be and love the game. With that in mind, they are much more receptive to feedback and are more intrinsically motivated to elicit it from the coach. In the classroom, the converse is true. Students have to be there. It's the law. If you're reading this, I am sure you'll have no trouble envisioning students over the years you know did not want to be in your classroom or school for that matter. With that in mind, traditional classroom feedback is usually red marks on the paper after it has been submitted. Very few students actually see this as an opportunity to correct mistakes if given the opportunity. In this manner, feedback is merely an autopsy. Students in the classroom, in many cases, don't seek out feedback from the teacher. It's usually a one way street from teacher to student when the teacher has the time.

This is the paradigm I'd like to see shifted. I'd love to see a classroom environment and culture where learning experiences (not lesson plans) are designed where teachers and students engage in a robust feedback loop. I'd like to see the students eliciting feedback from the teacher as well as the other way around. The feedback loop would be a two-way street.

This will not happen over night. Like anything, it will take time to develop. It is a process. One way I have developed a similar culture in my classrooms began with the simple idea of a stop sign. As mentioned above, students traditionally do not ask for feedback while they work or are engaged in an activity. To begin "training" students to be self-reflective and ask the teacher for feedback, in the activities I design, I try to embed stop signs at strategic points. The stop signs are reminders for students to stop, reflect, raise hand and ask the teacher to come check their progress. This allows students to work at their own pace, and when I arrive, I can give them targeted, personalized feedback. This feedback is one on one. For many reasons, students fear raising their hands and asking questions in front of the whole class. One on one, or in small groups, there is less of a fear factor. This helps build relationships and rapport with students. They feel heard. The feedback I give one student, is likely to be different than that to another student. 

I try to incentivize student elicited feedback by setting a "participation points" goal for each activity. Each "feedback encounter" is a point. The more they elicit feedback from me, the more points they earn. In this type of classroom, the step counter on my smartwatch is working overtime. Student elicited feedback is actually improving my health. 

Let's take a look at some of the activities in which I have embedded stop signs to help create a culture of student elicited feedback.

Slides Presentation

When having students navigate an activity in Google Slides or PowerPoint, look for natural stopping points where you can insert slides with a stop sign. If there are multiple points, simply duplicate the stop sign slide and move as needed.


EdPuzzle

During distance learning, EdPuzzle became a popular way to deliver asynchronous instruction. EdPuzzle allows you to embed questions are targeted spots in a video. When you embed questions in EdPuzzle, there is also a button to add an image. That same stop sign slide you use in Google Slides or PowerPoint can be downloaded individually as a JPEG file on your computer. Click the add image button in your EdPuzzle question to add the stop sign JPED from your computer to the question.
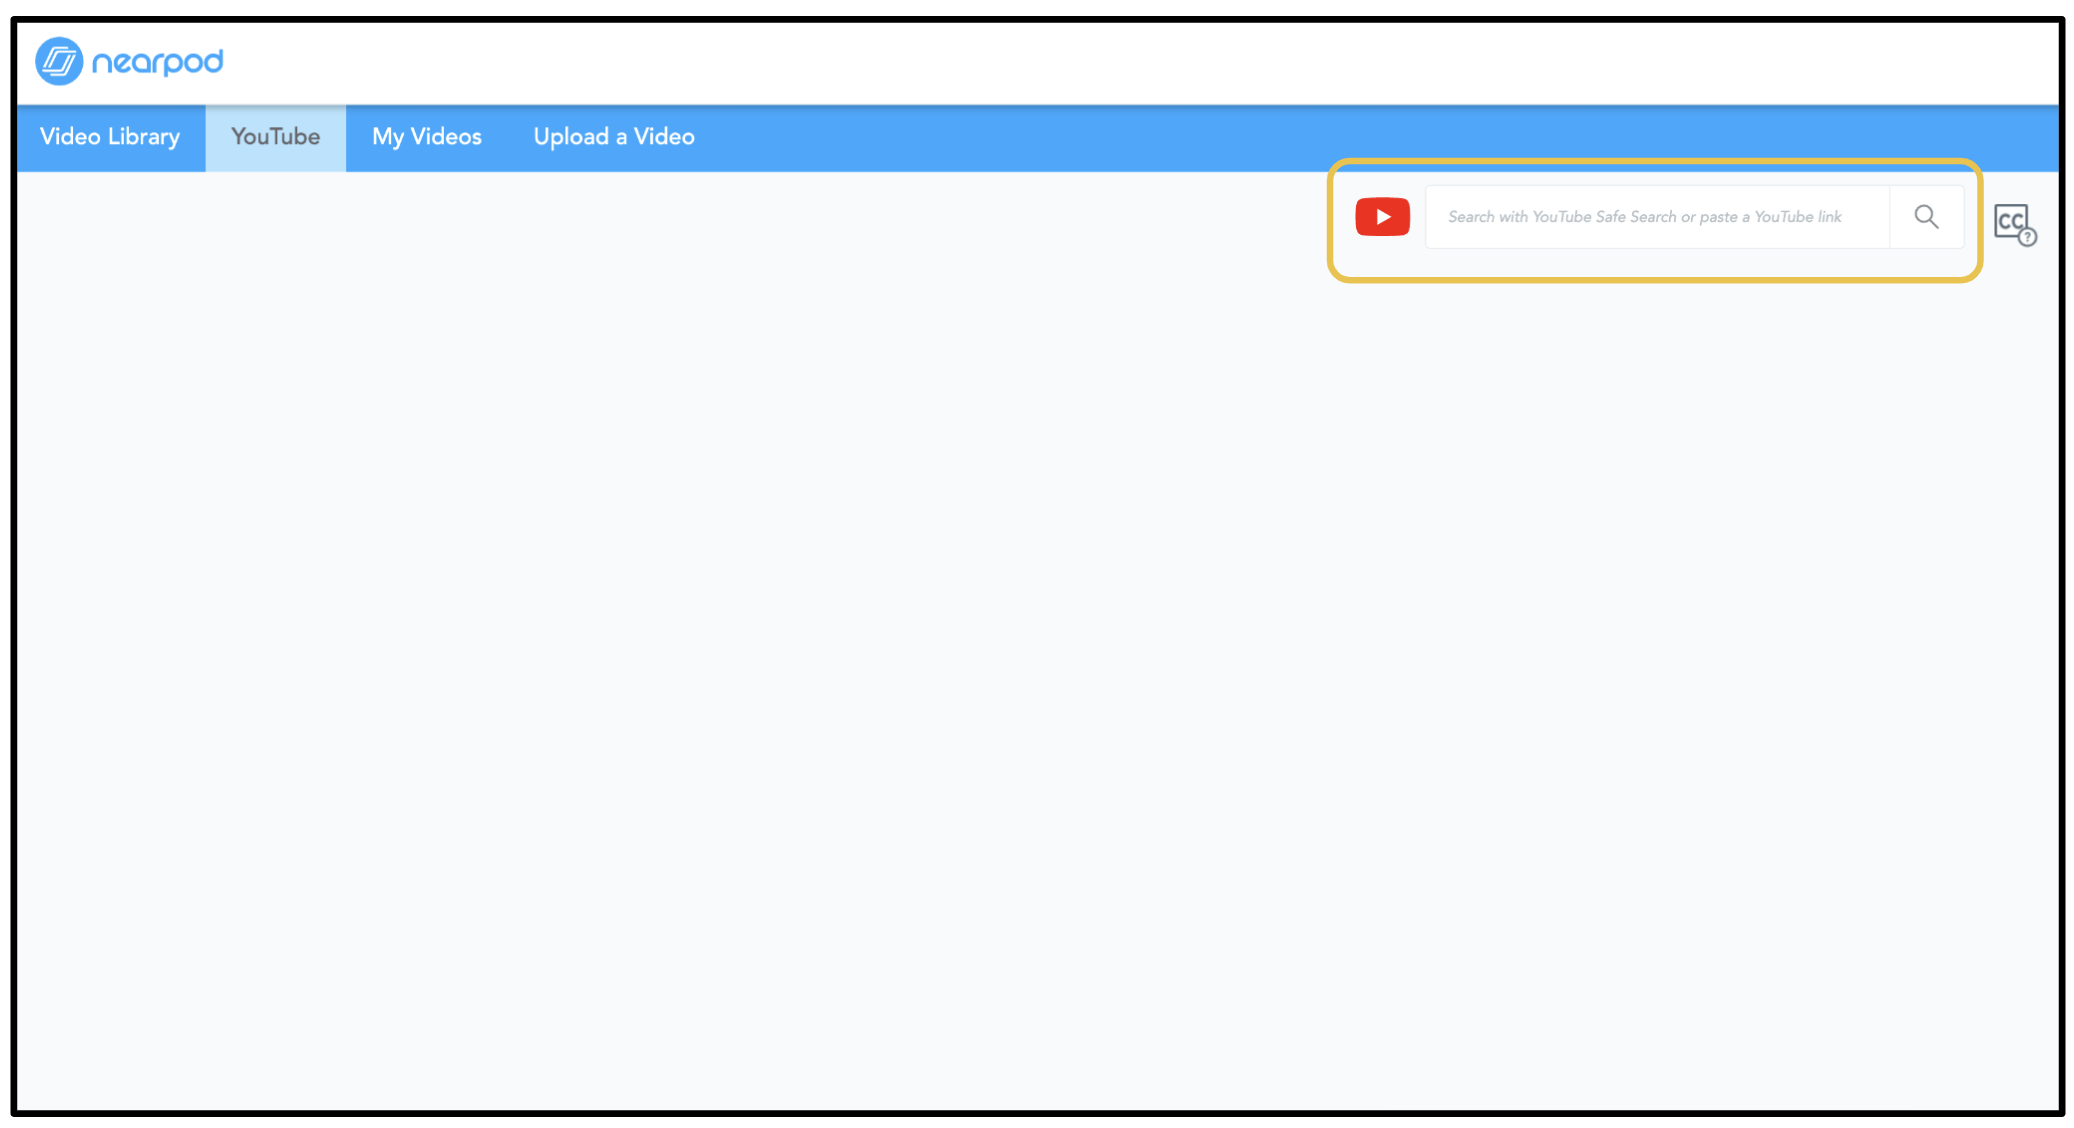

Nearpod

Just like with a Google Slides or PowerPoint presentation, in Nearpod, find those natural stopping points and add a stop sign slide. What I do, like with EdPuzzle, I use my downloaded stop sign slide JPEG and add it to a slide in Nearpod.


Quizizz Lessons

Quizizz is more than just fun, gamified quizzes. The Quizizz Lessons function is very similar to Nearpod. In same manner, add your stop sign slide JPEG to a Quizizz Lessons slide at strategic points.


Eduprotocols are absolutely blowing up in the world of education, and they have hardly scratched the surface. If you haven't heard of Eduprotocols, check out eduprotocols.com to learn more. Eduprotocols, originally developed by my friends Jon Corippo and Marlena Hebern, are built on the concept of a culture of targeted, in the moment feedback. Eduprotocols will go a long way in developing that culture in your classroom. As I have become more familiar and comfortable using Eduprotocols, I have found targeted points of these simple activities to embed stop sign reminders for students. 

Mini Report 

The Mini Report Eduprotocol is a simple way to get students to do some research, take notes and write. The way I deploy this activity is to have students read the two sources first, no note taking. From there, they go back over the sources and look for information about certain topics, one at a time. This gives them the opportunity to engage in multiple reps of reading the sources and practice skimming. Below, you can see how I embed the stop signs after each topic for students to elicit feedback from me. 


Frayer

Frayer is such a simple, versatile activity. I can be adapted for almost anything. As a social studies teacher, I liked to use Frayer as a skimming the text activity. Below you can see how I embed stop signs at specific points.


8pARTS DBQ

In a social studies class, analyzing primary sources is very important. 8 pARTS DBQ is a great way to get kids to engage in this. Like Frayer, I strategically embed stop signs where I want to be able to check student work.


Eduprotocols, and many other strategies, are designed to have students engage in a robust feedback loop. But to get to that point, students need little reminders to actually pause, reflect and ask for feedback. It doesn't take long to implement this system. If you can search the web for a picture of a stop sign, copy and paste, you have the skills to do this. 

One of my greatest teacher successes took place last year. I was teaching a 10th grade World History class. In this class, I had a student who was a 12th grader and had failed the class twice before. This was the student's third attempt at World History. Never have I seen a student embrace the idea of individualized, targeted feedback so well. This student took to my feedback system like a duck to water. This student never felt so supported. In the past, they didn't feel engaged. In my class, they actually began to work ahead. What made my teacher heart leap for joy was the weekend emails this student would send. Whether they were making up work when absent or working ahead, I would receive emails and direct Google comments asking for feedback. Unsurprisingly, this student got one their few "A's" in high school, and easily passed World History. This student graduate and is now working on earning a welding certificate. 

Believe it or not, something as simple as copying and pasting stop signs for reminders to ask feedback can make all the difference in the lives of the students we serve. What ideas, tips, tricks or strategies do you employ for building a culture of feedback in your classrooms?

If you would like to bring me to your school for PD, workshops, a keynote, training or a follow-up on this or previous blogposts, click here to schedule an appointment to chat.

My book, The Complete EdTech Coach: An Organic Approach to Digital Learning, co-authored with my wife Katherine Goyette is now available on Amazon. Click here to purchase. It is published by Dave Burgess Publishing. Be sure to follow the hashtag #OrganicEdTech and #CVTechTalk for updates.


Monday, September 12, 2022

Back to School with Nearpod (#4): Better Classroom Management with Google Classroom Integration


Welcome back to school. I hope everyone is having an enjoyable start to the new school year. A pain point with using Nearpod or any app that gives you the option to have students join a session with a code is getting students to join promptly. Many factors can get in the way of students joining. In my experience, students struggle to see the TV or screen where the code is projected. Not being able to get into the session, students have been known to shut down and or get distracted and off-task. What I have noticed is that having less to click or type, expedites this process. 

Nearpod's integration with Google Classroom removes some typing and extra clicks. Simply eliminating a few clicks and or typing, goes a long way in keeping kids on task as well as helping with classroom management. Let's take a look at two ways you can expedite the process of students joining your Nearpod session via Google Classroom.

When I am in the classroom, I made it a clear expectation that their daily opening routine includes logging into their Chromebook and opening Google Classroom. I usually have a 4-5 minute timer running for kids to complete this process at the beginning of class. During this time, I greet students, take roll, and I am able to push a Nearpod session to Google Classroom.

To push a Nearpod session from Nearpod to Google Classroom, takes only a minute. Start by hovering your cursor over the Nearpod lesson/activity in which you want students to participate.


You will be presented with two options, Live Participation or Student-Paced. Regardless of your choice, the setup will look almost identical. For the purposes of this blogpost, the screenshots will feature the Live Participation option. In this case, students will not have to enter a code. They will simply click on the link provided them via Google Classroom.


After selecting Live Participation or Student-Paced, click the Google Classroom option. If you are in a Microsoft District, Microsoft Teams is also an option. On another note, if you were to create a Nearpod presentation for parents, you could use the Remind option to push the session to them. 


After selecting Google Classroom, you'll be prompted to choose the Google Classroom in which to post the session.


Once you've selected your Google Classroom, you must choose your action or what type of Google Classroom post you want the Nearpod session to be. Usually, I use Material or Announcement as I am not grading it via Google Classroom. Use Material if you want this post to be organized neatly with topics in the Classwork tab. If you want the quickest, easiest access, use Announcement. This will make it the first thing kids see in the Stream tab.


The next step is to title the post and add any instructions. On the student end, when this appears in Classwork, the link will be prominently featured and easy for them to click and join.


An alternate method will have you create the session from Google Classroom. This option is available if you have a paid subscription to Nearpod and it's been integrated with your Google domain. Below is what it looks like when you have this set up. When you click Create in the Classwork tab, Nearpod Assignment appears as an option. Talk to your IT department about setting this up.


After clicking Nearpod Assignment, a pop up will appear showing My Lessons. Click on the lesson or open the folder (and click a lesson) you want to push to Google Classroom. 


Just like in the previous option, the link will be prominently featured and you are able to title the post and put any instructions.


Either option works equally well. What these options allow is to have kids join a Nearpod session at the click of a mouse. It doesn't seem like much, but removing the steps of kids searching for the join Nearpod site and entering a code makes your classroom management a little easier. We all have a diverse group of learners in the room, all with unique characteristics. In some cases, those two extra steps can seem daunting and difficult, and this difficulty can make classroom management a struggle. 

If you would like to bring me to your school for PD, workshops, a keynote, training or a follow-up on this or previous blogposts, click here to schedule an appointment to chat.

My book, The Complete EdTech Coach: An Organic Approach to Digital Learning, co-authored with my wife Katherine Goyette is now available on Amazon. Click here to purchase. It is published by Dave Burgess Publishing. Be sure to follow the hashtag #OrganicEdTech and #CVTechTalk for updates.


Friday, September 9, 2022

Back to School with Nearpod (#3): Get Started Organizing Lessons into Folders

Welcome back to school! As an educator who lives in the Google environment, Google Drive especially, organizing resources is extremely important. If you don't stay on top of organization of resources in Drive, it becomes a very difficult place to navigate. As you become more comfortable using Nearpod, and you create more lessons, organization of My Lessons in Nearpod is also something to consider.

Like with Google Drive, you can organize your lessons into folders. In the screenshot below, you can see a folder I recently created for my Eduprotocols templates. Get started by clicking on the Folder button. 


A pop up will appear where you will title the folder.


Once created, you'll immediately be taken to that folder. Since it's a brand new folder, it will be empty. Look closely at the screenshot below. You will see an organizational tree similar to that of Google Drive. You can easily see the folder (American Revolution) as a subfolder of My Lessons. 


With your folder(s) created, now it's time to move lessons into the folders. 


Hover your cursor over a lesson you'd like to move. Click three horizontal dots. In the dropdown menu that appears, click Add To Folder. 


In the pop that appears, choose the destination folder. You also have the option to create a new folder from this pop up as well.


When you are in My Lessons, click on the folder to open it in order to view the lessons you've organized in this folder. 


This system is great for organizing lessons by unit, grade level, lesson, templates and more. If you are familiar with the folder creation process in Google Drive, you will find Nearpod's system rather similar and easy to use. 

If you would like to bring me to your school for PD, workshops, a keynote, training or a follow-up on this or previous blogposts, click here to schedule an appointment to chat.

My book, The Complete EdTech Coach: An Organic Approach to Digital Learning, co-authored with my wife Katherine Goyette is now available on Amazon. Click here to purchase. It is published by Dave Burgess Publishing. Be sure to follow the hashtag #OrganicEdTech and #CVTechTalk for updates.


Thursday, September 8, 2022

Back to School with Nearpod (#2): Get Started Adding Videos with Embedded Questions

Welcome back to school! I hope this year has started off well. One thing many of us learned during distance learning was how to facilitate asynchronous learning. Some of you may stop reading this because of not wanting to deal with asynchronous learning anymore, especially that we are now back face to face. What I propose is taking some asynchronous ideas and skills and applying them to a synchronous, face to face learning environment.

Nearpod's ability to embed questions within a video is an asynchronous idea that is easily adaptable for face to face, synchronous teaching. In a nutshell, this feature allows you to use Nearpod videos, YouTube videos (safe search) or upload your own videos and embed questions at certain points within the video. If you are familiar with EdPuzzle, this is similar. The beauty of using Nearpod is that this feature is just one part of a multitude of other engaging, empowering options for lessons. 

The embedding questions within videos could be a great way to differentiate instruction. It could be used during station rotations. It allows students to go at their own pace. They have a pause and rewind button on the video. If teaching whole class teacher-led instruction, students don't have this option. Sure, they could raise their hand and ask questions, but for many kids that can be stressful. Giving them a measure of control over how they consume the content can help address students' unique SEL needs.

Enough pontificating. Let's take a look at how to get started adding videos in Nearpod with questions embedded at specific points. Once you've created a lesson, click the Add Content & Activities button.


To add videos, you have a few options. You could embed videos into a slide, but for the purpose of this blogpost, choose the Video option. When you embed a video into a slide, you cannot embed questions at specific times in the video. You can add interactive questions as a separate slide.


After clicking Video, you have a wide variety of options. By default, you will see the Nearpod Video Library. This contains standards aligned content made by the wonderful people at Nearpod. There is a tab to embed videos from YouTube. The YouTube videos are filtered with Google's Safe Search. The My Videos tab is a personal library for you where you can save videos for future reference. The Upload a Video tab allows you to upload videos you have saved on your device.


If you choose the YouTube option, you will see a search bar where you can paste at YouTube video URL or safely search YouTube right within Nearpod.


If you choose the Upload a Video option, you have options to upload videos from your computer, Google Drive, Dropbox or One Drive accounts. 


For the purposes of this blogpost, the following screenshots show the YouTube option. Below, I searched for videos about Thor. After sifting through the search results, I clicked on one to add to my Nearpod lesson.


Once the video loads, you'll see a button in the bottom middle of the screen to Add Activity. What I did here is pause the video at a certain point and clicked that button.


This allowed me to add an Open Ended Question or Multiple Choice Question.


Below is an example of a Multiple Choice Question. 


This question will pop up at the 0:08 part of the video. 


Multiple questions can be embedded throughout the entirety of the video. More than one video like this can be added to a Nearpod lesson. This function can be used for accountability, differentiation, station rotations and much much more. How might you use Nearpod's function for adding videos with embedded questions?

If you would like to bring me to your school for PD, workshops, a keynote, training or a follow-up on this or previous blogposts, click here to schedule an appointment to chat.

My book, The Complete EdTech Coach: An Organic Approach to Digital Learning, co-authored with my wife Katherine Goyette is now available on Amazon. Click here to purchase. It is published by Dave Burgess Publishing. Be sure to follow the hashtag #OrganicEdTech and #CVTechTalk for updates.


Wednesday, September 7, 2022

Back to School with Nearpod (#1): Get Started for the First Time


Welcome back to school! Since we've returned to face to face school after distance learning, a frequent pain point I have heard from teachers is lack of student engagement. Holding all students accountable for participating is more essential than ever before. Instead of a select few who are randomly selected with popsicle sticks, Nearpod holds every kid in the room accountable for answering. Student answers are confidential and Nearpod's amazing suite of tools allows kids to engage with content and participate in learning like never before. 

If you are new to Nearpod, let's take a look at how to get started for the very first time. Begin by heading to nearpod.com and click Sign Up. I recommend using Google, Microsoft, Clever or Classlink as seen below. If those systems are not what you use, use your school email address instead.


The next step is to choose your role. Be sure to select teacher. From there, you will have to agree to terms and conditions.


Nearpod is going to ask you for some details about your role. You may select multiple options in each category.


After entering information about your role, you are all set up. Below is what your Nearpod dashboard looks like. It defaults to the My Lessons tab. To get started quickly, click the Create a Lesson button.


To start building a lesson, click the Add Content & Activities button. An extensive menu of options will appear.


The Content tab of the Lesson & Activities menu gives you a wide variety of things you can add to your lesson. For the purpose of the blogpost, I will demonstrate the bare bones basics of creating a slide. Click the Slides option.


Immediately, a slide will load. If you look closely, it closely resembles what you are used to in Google Slides. If you are familiar with Google Slides, there shouldn't be much of a learning curve. After building your slide, in the bottom right corner, you can click Save to add it to your lesson or click Save and add new to save the first slide and immediately start building a new slide.


Your saved slides will appear as seen down below. From here, you can click on any slide to add further edits.


When your lesson is saved, back in the My Lessons section, hover your mouse over the lesson. Many options for facilitation and more are available. Live Participation is useful for conducting the lesson with students all at the same time like you would with PowerPoint or Google Slides. This option will generate a code for students to use to join the lesson. The beauty of this is that the slides appear on their screens as well as on your TV or projector screen. Students with visual impairments can find seeing the lesson easier in this way. 

The Student Paced option allows students to navigate the lesson asynchronously. This can be used for homework, students who have been absent, enrichment, stations and much more. The link to a Student Paced lesson can easily be posted in the LMS of your choice. 


This is just the tip of the iceberg with Nearpod. Now that you are able to get started for the first time, the next entry in this blog series will contain tips and tricks for adding videos and questions to a Nearpod lesson. Stay tuned!

If you would like to bring me to your school for PD, workshops, a keynote or training, click here to schedule an appointment to chat.

My book, The Complete EdTech Coach: An Organic Approach to Digital Learning, co-authored with my wife Katherine Goyette is now available on Amazon. Click here to purchase. It is published by Dave Burgess Publishing. Be sure to follow the hashtag #OrganicEdTech and #CVTechTalk for updates.