Monday, May 6, 2019

Get Started with Podcasting in the Classroom

Image result for podcasting

In education these days, podcasting is a huge fad. Some awesome members of my PLN host podcasts and have had me on as a guest. Using podcasts in the classroom is an idea that has intrigued me, but I have struggled find ways to implement it. Just the other day, it hit me. Podcasting is a great way to up my spiral review game.

Spiral review is a concept that is championed by my district. With that in mind, I have been looking for innovative ways to spice up spiral review. As I continue to hone my blended learning craft, podcasting is a natural fit. As students work in class, those who are “ahead of schedule” can earn extra points by joining the podcast. During the podcast, I ask spiral review questions. It gives students opportunities to reflect on and review notes from previous lessons and activities. Students who may not be ready to podcast in class, but are motivating to learn and earn extra points towards their grades, can come at lunch or after school to join the podcast.


Podcasting kills many "EDU birds" with one stone. Not only does it enhance blended learning and address spiral review, it also hits an important district initiative of developing students as powerful communicators. Knowing I am going to publish their ideas and voice is empowering for students. When working with English learners, podcasting helps improve listening and speaking. Some podcast episodes may take several takes before being published. This helps build resiliency and a growth mindset. The reps and iterations help students learn not to fear mistakes, but embrace them as learning opportunities.
Image result for spreaker
If you’re looking for a quick and easy way to begin implementing podcasting in your class, start by using it as a method of spiral review. Below are the steps I’ve taken in building a class podcast.

- Find a podcast platform/software: I use Spreaker. The free version allows for up to 15 minute episodes. The episodes are easily shareable as links and it is rather simple to connect your Spreaker podcast to other platforms such as Spotify, Apple or Google.

- Mac/PC: The Spreaker software is a free download.

- Chrome OS: If you’re Chromebook has the Play Store enabled, download the free Spreaker Studio App.

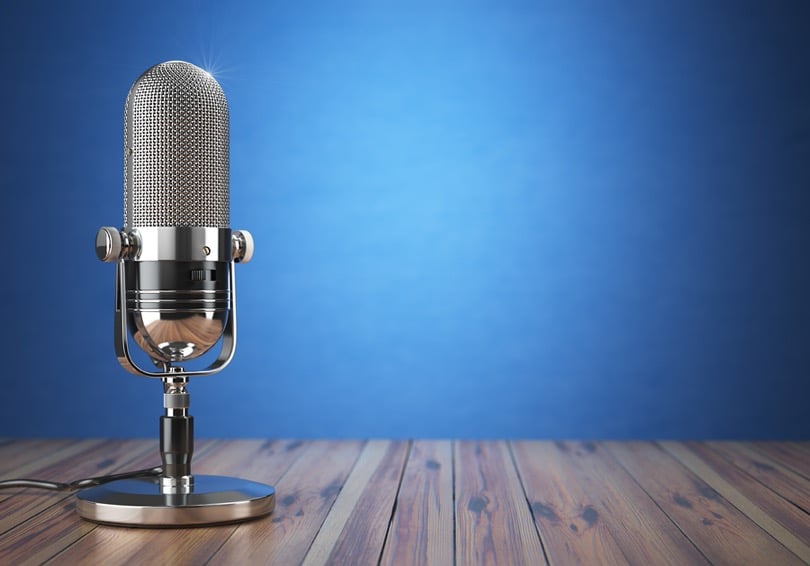
- Find a decent microphone: For less than $100, Blue has a variety of options. The Blue Snowball is usually in the $50 range and available at Amazon or Best Buy. I currently use the Blue Yeti Nano.

- Find Podcast Content: Simply look back at previous lessons and activities you’d like students to talk about. Put students in charge of finding content that extends learning.


Friday, May 3, 2019

Pokemon Cards, Feedback and Blended Learning Model


Image result for lead with learning never with tech

My wife, and fellow EdTech Coach, Katherine always says “Lead with learning, never with tech”. You may find it strange to hear us say something like that considering our job titles. Just because we are tech coaches does not mean we believe tech should be used for absolutely every aspect of lesson design. An approach I am rather fond of is a blended learning approach. In a nutshell, blended learning deals with delivering instruction and students submitting work in both electronic and paper/pencil/physical manner.

When I teach history, my lessons are screencasted and published to YouTube. My screencasting program of choice is Screencastify. You can get Screencastify for free in the Chrome Web Store. The free version allows you up to 50 screencasts per month at a maximum of 10 minutes per video. The paid version gives you unlimited screencasts and time per video. Students access the lessons from YouTube via Google Classroom. This gives them a “pause button on the teacher”. It allows them to go at their own pace. As they navigate the lesson, they take notes with pencil and paper, sometimes with a graphic organizer. On some occasions, students will use Dualless Chrome extension to split their screens so they can watch the video lesson and take notes digitally on Google Docs or Google Keep. For reflective purposes, students will take their digital notes and transform them into sketchnotes. The sketchnotes are used for projects and turned in for points.

When students receive their “lessons” pre-recorded, it is imperative that the teacher does not simply sit back and let the kids go completely unguided on their own. Delivering a lesson in this manner helps teachers become more of a “guide on the side” than a “sage on the stage”. How do you become a “guide on the side”? Create a feedback loop. Teach your kids to ask for feedback, clarification and help. Teach them to ask “the expert in the room”, you the teacher.


Nowadays, students are afraid to be wrong and often simply want to go through the motions just so they can say they completed an assignment or task. I have encountered many kids who shut down and give up when receiving feedback and having to tweak or re-do work. A feedback loop is good way to get around these hang ups. Kids need to know that learning is a process. This process includes trial and error. When kids play games and video games, they embrace the concept of trial and error. As I’ve attempted to find ways to foster a strong feedback loop, I found inspiration in Pokemon cards. In my younger years, I never played Pokemon or collected the cards, but saw people who did. I was a baseball card guy. A popular Pokemon catchphrase was “Gotta catch ‘em all”. People worked hard to collect the cards so they could improve their gameplay. Collecting Pokemon cards, like baseball cards, was fun and motivating.


To create a robust feedback loop when delivering pre-recorded lessons, I created feedback tokens. Students earn feedback tokens when they elicit teacher feedback. I distribute them to students when they ask for clarification and when they have me check their work/progress. These one on one meetings often lead to organic conversations that allow me to go deeper in my explanation of history. Kids ask follow up questions and the teacher-student relationship is taken to a new level. Kids sitting nearby see these conversations and are encouraged to do the same. Those nearby students often listen in and join in, further deepening the experience.

Depending on the task, a target number of feedback loop interactions are set for a class period. They receive an “A for the day” for participation if they meet that number. However many tokens they earn beyond the target number is extra credit. Immediately, engagement and feedback increased. The quality of work is improving as I catch mistakes, misconceptions and other errors while students go through the process of learning. Before, many dreaded it when I found mistakes and just wanted to finish. Now, they see the value of mistakes and how it helps their learning and the quality of their work.


The feedback loop, and tokens, has helped me strengthen some relationships with students and cultivate others. Organic conversations arise which give me insight into their thoughts and likes. I use this data to develop lessons that take into consideration what they like. If you’re looking for a way to boost your feedback loop in a blended learning model, give the feedback tokens a try. Click here to use my Feedback Tokens Google Drawing as a template.

Thursday, May 2, 2019

Upgrade Your Google Slides Image Game


Image result for chromebook png

One of my district's graduate outcomes is for students to become powerful communicators. A common way in which students are taught to communicate is by delivering in-class or screencasted slides presentations with presentation software. In my district, our software/program of choice is Google Slides.

A common occurrence when students create slides is that they put tons of text on each slide and read it to the audience. Good presentations do not happen when students read a bunch of text to an audience. As tech coach, I coach teachers to encourage students to create slides that are more image heavy where student presenters can tell a story about the images on the slide. Instead of staring at the screen, image heavy slides make it conducive for kids to use the images as reminders. They can glance and point to the screen to remember what they are going to say. This allows them to have more of a connection to the audience. Any time you have kids search the web for images, students must be made aware of copyright and learn to use creative commons and other types of legally allowed images.

To this end, student presentation slides design must change. Finding the right images is not always as easy as simply Googling it. Sometimes, kids may come across an image they copy and pasted from a Google search, but only want a portion of it. To get the part they need, kids can use the Crop Image function by right clicking (two fingers simulaneously) on the image. 


Another way for kids to up their image game in Google Slides is to use the Chromebook's built in screenshot function. Often times, kids may come across a webpage that has an image that may fit their presentation. The built in screenshot function may come in handy to this end. To do so, simultaneously hold Control (CTRL) and "the square button above 5 or 6 that looks like a rectangle with two lines" button. If you want a region of the webpage instead of the entire page, hold down Shift in addition to the keyboard shortcut command for the entire screenshot. 


Whether you choose to screenshot the entire page or just a region, on a Chromebook, the image will be saved automatically to your Files folder. Immediately after the screenshot, in the bottom right corner, above the notifications tray, a pop up will show a preview of the image with an option to Copy to Clipboard. This is very helpful because it makes adding the image to the slide easier. Click the Copy To Clipboard option and you can quickly paste it on the slide. Otherwise, you will have to use the Insert Image > Upload from Computer function to get the image to the slide. This isn't difficult, but it is two extra steps that can be circumvented. 

One of my favorite ways to jazz up a slides presentation is to insert images of people with transparent background. One way to do this is to use remove.bg. Remove.bg is a relatively new website that allows you to upload an image that contains a person and it removes the background to create a transparent background image or png. With the background removed, you can "insert" people into different scenes or backgrounds. Transparent background images of people on the slides coupled with speech or thought bubbles are great way to spice up a presentation. 


There are quite a few ways to jazz up slides presentations. The ideas mentioned in this blog post are just the tip of the iceberg, but they are some of my go-to ideas. I encourage you to use these as a jumping off point as you develop your own ideas and best practices for helping kids upgrade your Google Slides Image game.